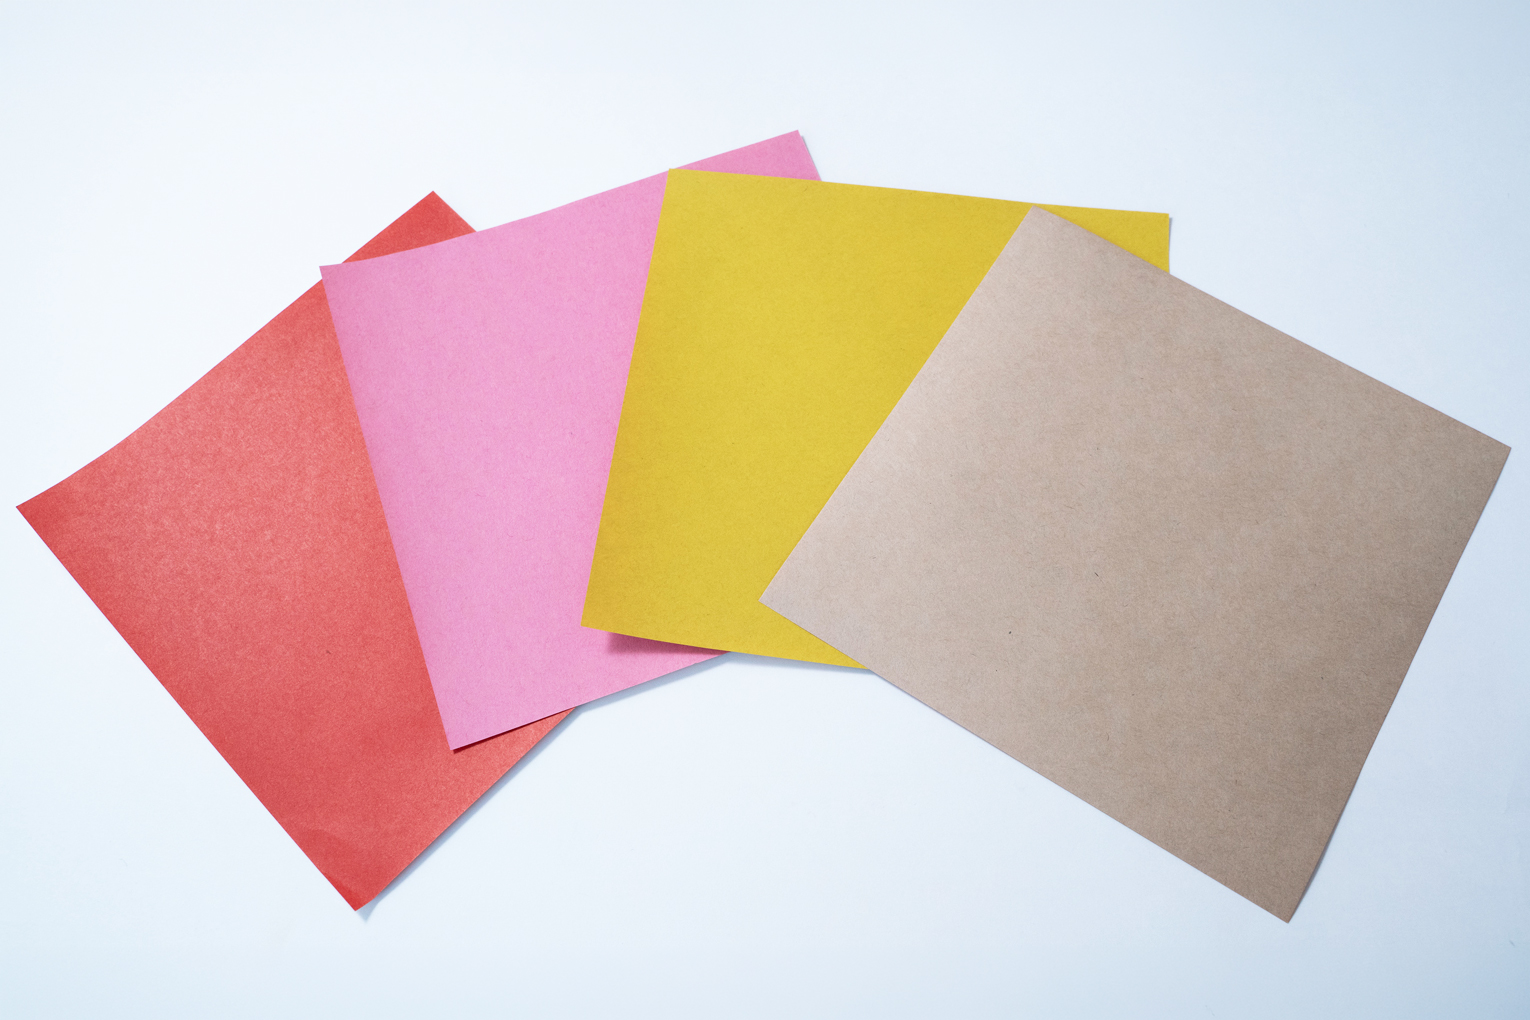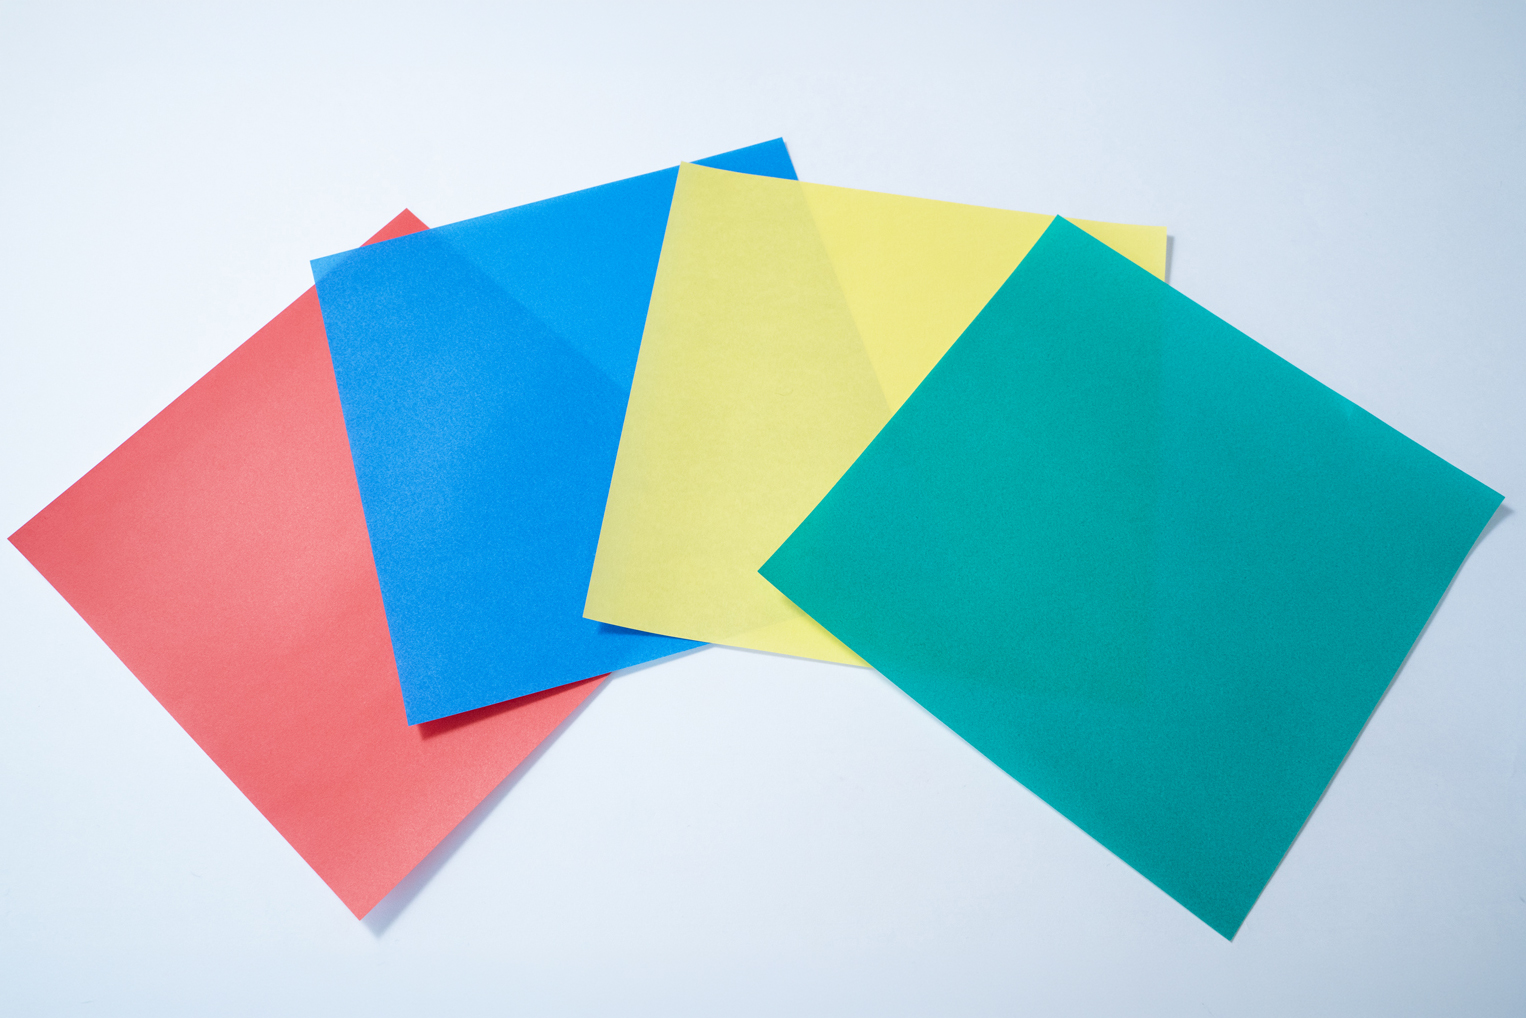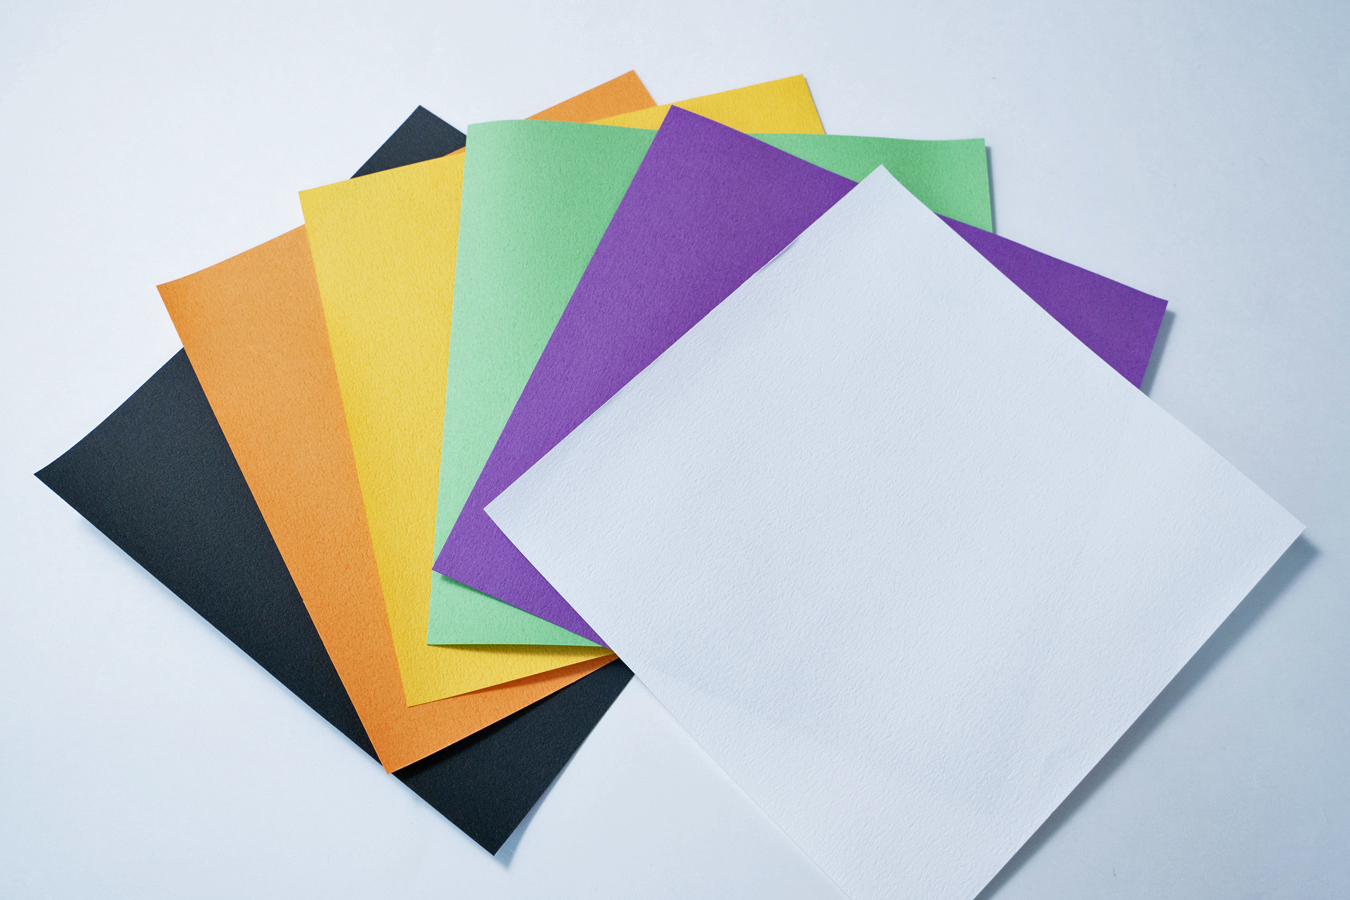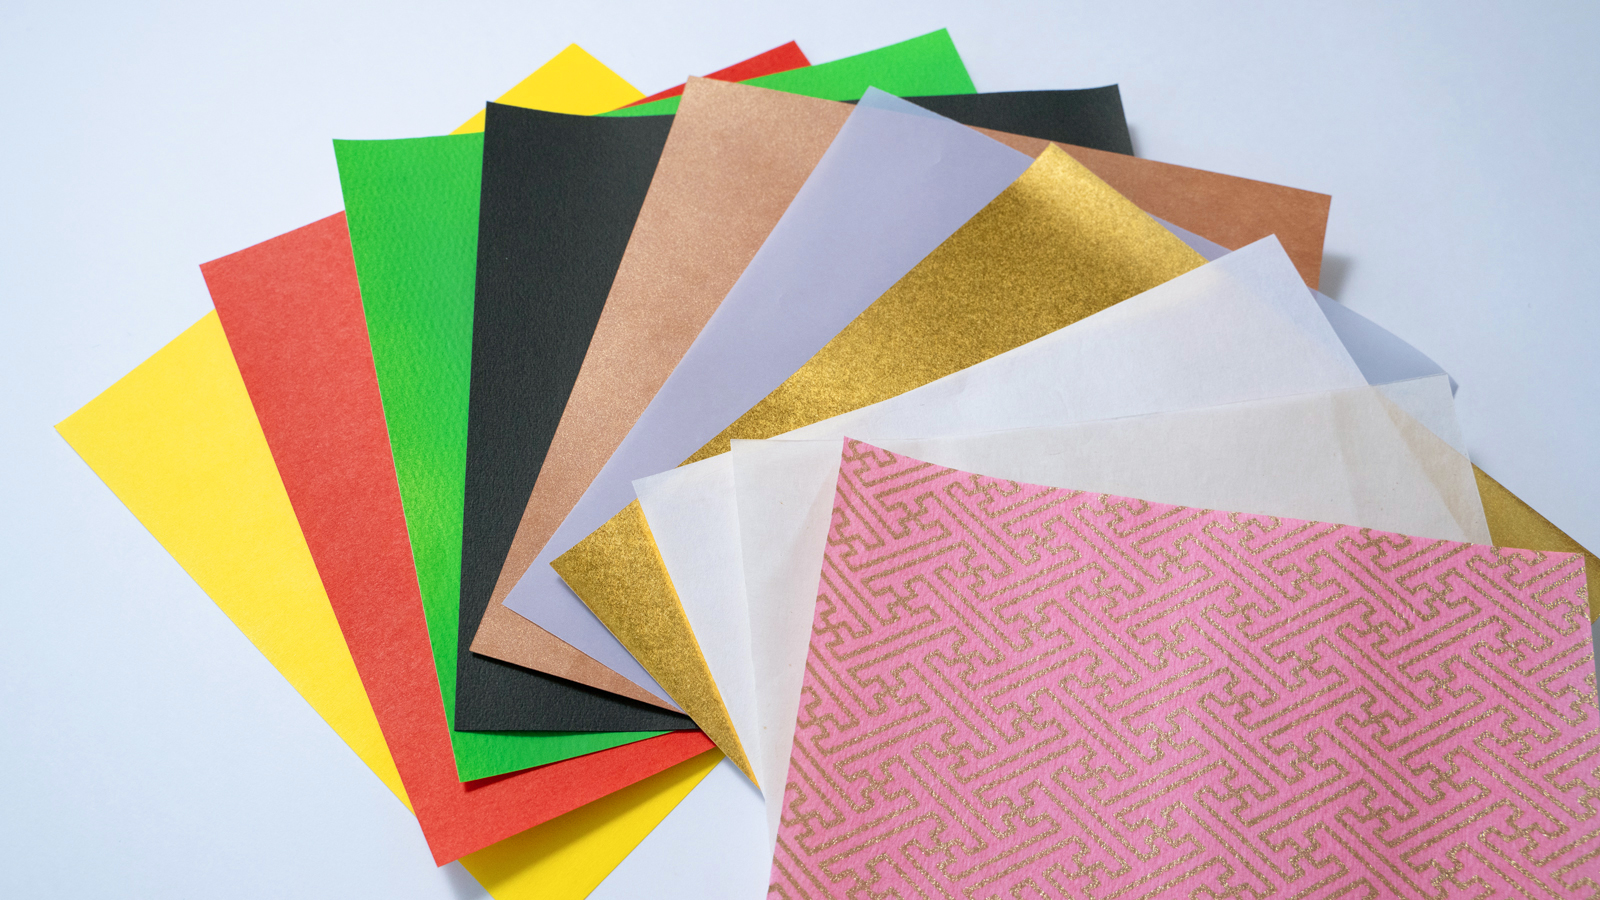
The paper you choose affects how easily a model folds, how cleanly details form, and how well the finished piece holds its shape.
As a quick starting point, standard kami is commonly sold as a 15 × 15 cm (about 6 × 6 in) square and is often around 60 gsm. There is no single specification for all origami paper, however. The right size and weight depend on the number of folds, the amount of layered detail, and whether the finished model needs to support its own form.
In general, use a larger, thinner sheet for a complex model and a slightly heavier or stiffer sheet for a simple, geometric, or display-oriented model.
Model or purpose | Useful starting size | Useful starting weight | Why |
|---|---|---|---|
Beginners and simple models | 15–20 cm / 6–8 in | 60–80 gsm | Easy to handle and strong enough for repeated practice |
Intermediate models | 20–30 cm / 8–12 in | 60–90 gsm | Provides more room for details without becoming too bulky |
Complex models | 30–50 cm / 12–20 in or larger | 30–70 gsm | Reduces bulk where many layers meet |
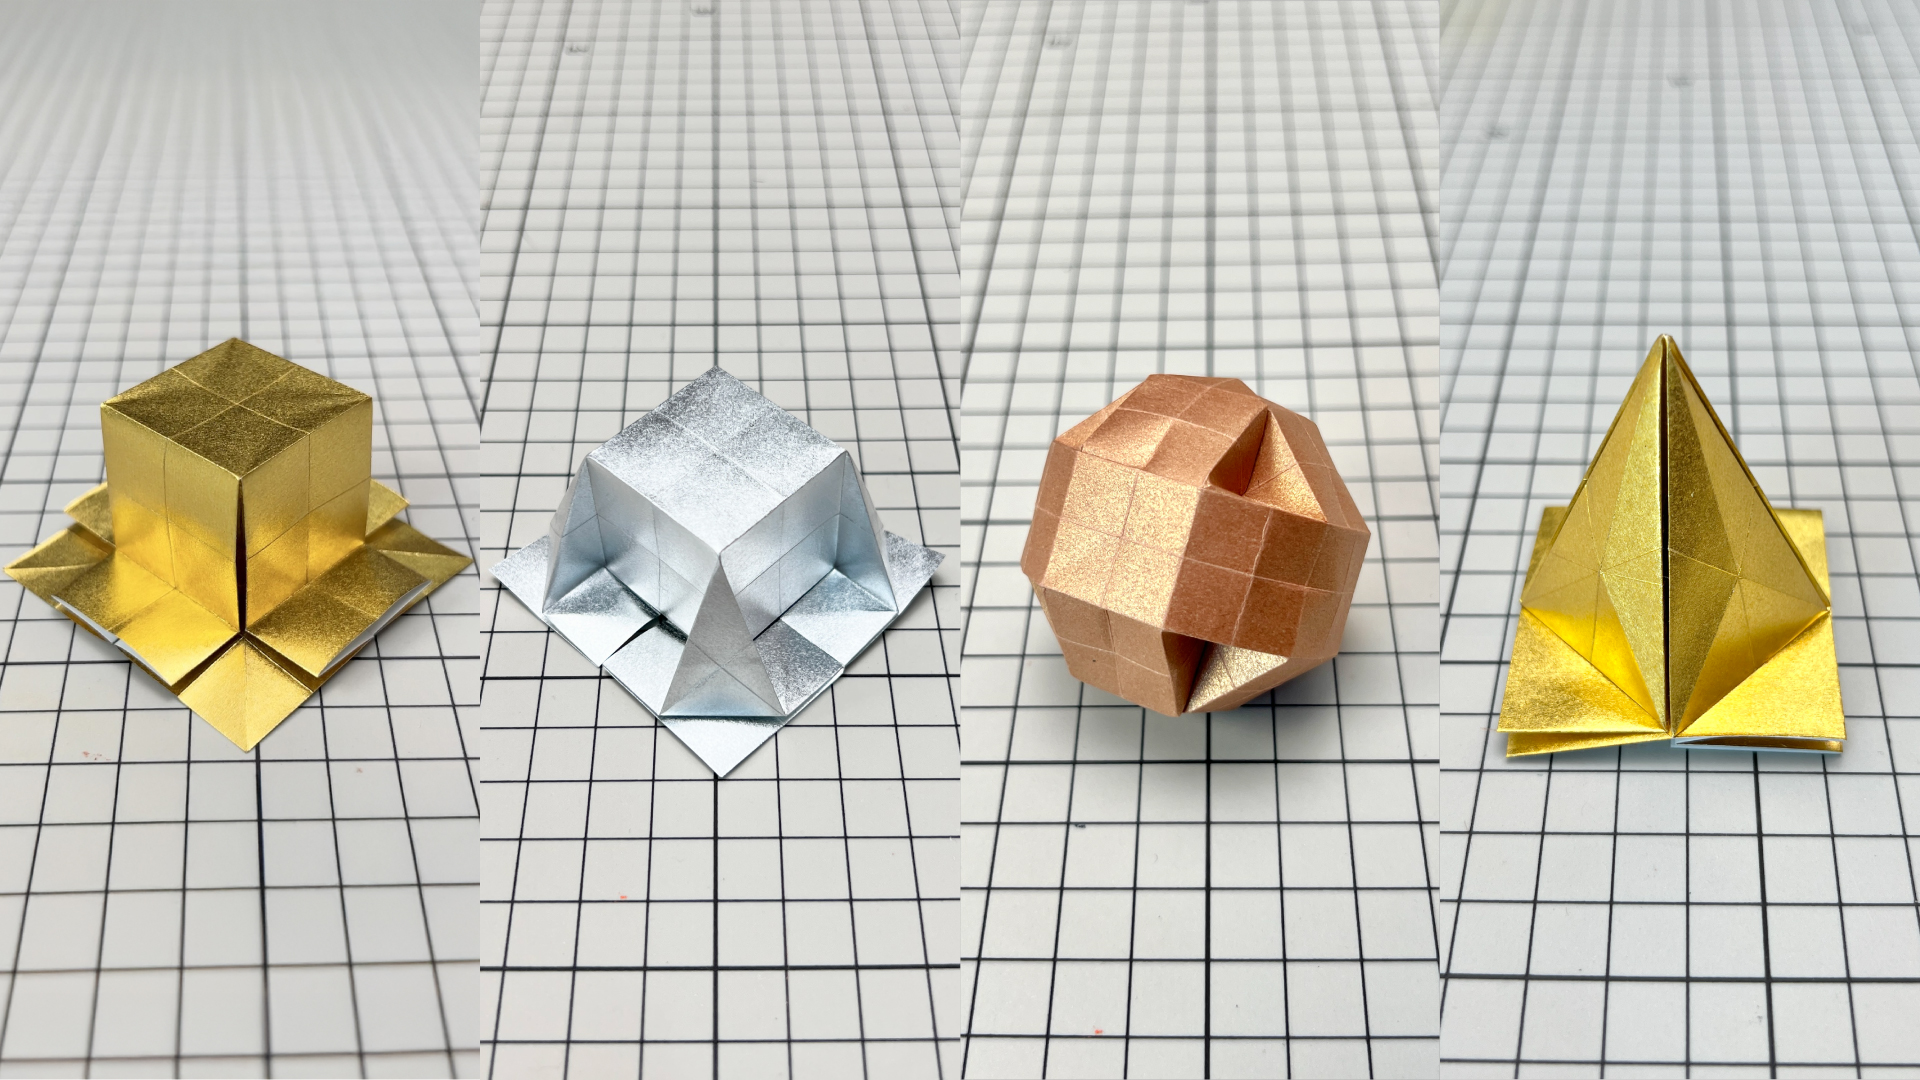
Modular origami and tessellations | Depends on the unit or grid | 70–100 gsm | Stiffness and crease memory help repeated forms stay consistent |
Display and sculptural models | 20 cm / 8 in or larger | 80–120 gsm, or treated paper | Extra body can help surfaces and three-dimensional forms hold their shape |
These ranges are starting points rather than fixed rules. Fiber, coating, density, and surface treatment can make two papers with the same gsm behave very differently.
For a comparison of specific materials such as kami, kraft paper, Tant, washi, and tissue foil, see 11 Types of Paper That Are Easy to Use for Origami.
What Is the Standard Origami Paper Size?
The most common size for commercial origami paper is 15 × 15 cm, or roughly 6 × 6 inches. This is a practical size for cranes, flowers, boxes, and many beginner or intermediate models.
It is not the best size for every design. A model with many steps needs more space for accurate folds, especially where several layers gather in the same area. Moving from a 15 cm sheet to a 24 cm, 30 cm, or 35 cm sheet can make the same sequence considerably easier to control.
A larger sheet is not automatically better. Broad surfaces and long edges can bend under their own weight, and small alignment errors become more visible as the model grows. Choose a size that gives your fingers enough room while still supporting the final form.
A Practical Size Guide
Model type | Suggested starting size |
|---|---|
Simple traditional models | 15–20 cm / 6–8 in |
Animals and flowers with moderate detail | 20–30 cm / 8–12 in |
Complex animals, insects, and figures | 30–50 cm / 12–20 in or larger |
Large masks, display pieces, and sculptural forms | Determine from the finished scale and structural needs |
If a model becomes difficult because the layers are too small to separate or align, try a larger sheet before changing the paper type.
What GSM Is Origami Paper?
GSM means grams per square meter. It describes the mass of a sheet over a fixed area, making it easier to compare paper products sold in different sizes.
Many mass-market kami papers are around 60 gsm. Regular office paper is commonly around 75–90 gsm, while specialty papers for origami can range from extremely thin tissue-based sheets to heavy papers used for wet folding or sculptural work.
GSM is useful, but it is not a direct measurement of physical thickness or folding quality. A dense, smooth paper can feel thinner than a soft, bulky paper with the same gsm. Long fibers, coatings, foil layers, and sizing agents also change strength, stiffness, and crease behavior.
GSM Ranges as a Starting Point
Paper weight | General folding behavior | Typical use |
|---|---|---|
Below 50 gsm | Very thin; minimizes layered bulk but may tear or wrinkle easily | Highly complex models, tissue-based papers, treated composite papers |
50–70 gsm | Thin and versatile | Kami, practice folds, detailed models |
70–90 gsm | More body and stiffness | General folding, Tant-like papers, modular origami, simple display models |
90–120 gsm | Holds broad surfaces well but becomes bulky in layered areas | Simple geometric forms, boxes, wet folding, sculptural models |
Above 120 gsm | Requires a design with few layers or a specialized technique | Large sculptural work, heavy wet folding, experimental pieces |
Do not choose paper by gsm alone. Use it together with sheet size, stiffness, fiber strength, and the structure of the model.
Is Origami Paper Thinner Than Regular Paper?
Standard kami is usually lighter and easier to layer than regular printer paper. This is why it remains manageable after repeated folds and why it can form narrow points more cleanly.
Printer paper can still work well for practice, boxes, geometric studies, and simple models. Its main disadvantages are that it is rectangular, often stiffer than kami, and more likely to become bulky when several layers overlap.
Construction paper and cardstock are generally too heavy for ordinary origami sequences. They can be useful for large forms with only a few folds, but they resist precise reverse folds and layered details.
Choose Paper by Balancing Thickness, Size, and Stiffness
Paper selection is not controlled by one measurement. Three properties work together:
- Thickness and weight affect layered bulk and fine detail.
- Size determines how much room you have to align and shape each fold.
- Stiffness affects how strongly the paper resists bending and how well the finished model holds its form.
Changing one property can compensate for another. A large sheet may make a complex sequence easier, but it may need stronger fibers or more stiffness to prevent broad surfaces from sagging. A thin paper reduces bulk, but it may need treatment or shaping to support wings, faces, or long points.
Thickness Determines Folding Precision
Thin paper is useful when many layers meet in a small area. It allows narrow points and detailed features to remain controllable instead of turning into a thick block.
The trade-off is stability. Thin paper can bend along long edges, warp across wide surfaces, or lose volume after shaping. A slightly heavier paper produces cleaner planes and stronger edges when the model has fewer layers.
Size Creates Room to Work
A larger sheet gives you more room to align edges, open pockets, and shape small features. This is especially helpful for complex models and for anyone learning an unfamiliar sequence.
However, size also changes the forces acting on the finished piece. Large wings, panels, and unsupported points may bend even when every fold is accurate. The paper must be strong enough for the scale of the model.
Stiffness Defines How the Model Holds Its Shape
Stiffness describes how strongly paper resists bending. A related quality is resilience, or how much the paper tries to return toward its original shape after being bent.
Stiff paper supports clean surfaces and geometric structures, but it can fight against small or deeply layered folds. Soft paper is easier to shape organically, although it may need foil, methylcellulose, wet folding, or another treatment to preserve the final form.
Unlike gsm and sheet size, stiffness is rarely expressed in a simple number on consumer paper packaging. The most reliable test is to fold and handle a sample.
The Best Paper Depends on the Model
No single paper performs best for every type of origami. The structure of the model should determine what you prioritize.
Paper for Complex Models
Complex models need enough size for precise handling and enough thinness to control accumulated layers. They also benefit from strong fibers that tolerate repeated folding, unfolding, and shaping.
Thin washi, Korean hanji, tissue foil, double tissue, and other treated papers can work well for this purpose. The exact choice depends on whether the model needs sharp geometric edges, soft shaping, or long unsupported points.
If you are attempting a complex model for the first time, begin with a larger and less expensive sheet. Once the sequence is familiar, choose the final paper based on the form you want to preserve.
Paper for Simple and Geometric Models
Models with fewer layers often benefit from more body and stiffness. Cranes, boxes, modular units, tessellations, and geometric forms depend on clean planes and reliable crease memory.
Kami works well for practice and many traditional models. Tant, chiyogami, kraft paper, and other slightly heavier papers can produce a more substantial finish when the fold sequence does not create excessive bulk.
Paper for Display and Sculptural Models
A display model must hold its shape after the folding is complete. Paper color, texture, aging, surface reflection, and resistance to humidity may matter as much as folding ease.
For these models, test the paper under the same conditions in which the piece will be displayed. A paper that folds beautifully on the table may still sag when mounted vertically or exposed to changing humidity.
Understanding Japanese Paper Weight
Japanese paper suppliers often describe paper using basis weight in kilograms rather than gsm. The number represents the weight of 1,000 full-size sheets. Because the full-sheet format can differ, a kilogram value is meaningful only when the reference size is known.
The following approximate conversions use Shiroku-ban, a sheet measuring 788 × 1091 mm.
Shiroku-ban basis weight | Approximate gsm |
|---|---|
55 kg | 64 gsm |
70 kg | 81 gsm |
90 kg | 105 gsm |
110 kg | 128 gsm |
135 kg | 157 gsm |
When possible, compare papers in gsm. It is easier to understand internationally and does not depend on the supplier's reference sheet size.
Buying Large Sheets and Cutting Them Square
Specialty paper is often sold as a rectangular parent sheet. The shorter side determines the largest square you can cut from it.
Japanese parent-sheet format | Sheet dimensions | Largest square |
|---|---|---|
Shiroku-ban | 788 × 1091 mm | about 78 × 78 cm |
Kiku-ban | 636 × 939 mm | about 63 × 63 cm |
Hatoron-ban | 900 × 1200 mm | about 90 × 90 cm |
International A-series paper can also be cut into useful squares:
Starting sheet | Sheet dimensions | Largest square |
|---|---|---|
A4 | 210 × 297 mm | 21 × 21 cm |
A3 | 297 × 420 mm | 29.7 × 29.7 cm |
A2 | 420 × 594 mm | 42 × 42 cm |
A1 | 594 × 841 mm | 59.4 × 59.4 cm |
Before cutting an expensive parent sheet, check the paper's grain direction, surface texture, and whether the reverse side differs from the front.
A Simple Three-Step Selection Method
When you are unsure which paper to use, start with these questions:
- How many layers will gather in the most detailed area?
More layers usually call for thinner paper. - How much room do you need to make the smallest folds accurately?
If the folds feel cramped, use a larger sheet. - What must the finished model support?
Broad planes, long points, and three-dimensional structures may need more stiffness, stronger fibers, or a shaping treatment.
Test the model once with affordable paper before committing to a specialty sheet. Record the size, gsm, paper type, and any shaping treatment so that you can reproduce the result later.
Paper Selection Is Part of Origami Design
Choosing paper is not a separate step from designing or folding a model. Paper determines how far a fold can travel, which details remain visible, how surfaces catch light, and whether the completed form survives after your hands let go.
An intuitive choice is a good place to begin. By considering size, weight, stiffness, fiber strength, and the intended display conditions, you can make that intuition more repeatable.
As you learn to select paper with intention, origami becomes more than a sequence of folds. It becomes a way of designing with material.
Sources
- OrigamiUSA, “Paper Review #12: Kami.” Accessed August 5, 2026.
- International Organization for Standardization, “ISO 216:2007.” Accessed August 5, 2026.
- NEC, “Paper Information Support.” Accessed August 5, 2026.
- TAKEO, “TANT Series.” Accessed August 5, 2026.